This section includes various scripts for video special effects. These effects will require some work on your end to set up and are not simply plugins for popular video editing programs. I've written this tutorial for a windows computer, but if you're running another OS, you might be able to get it to work if you can get pyMedia to compile. The scripts are as follows:
- mode.py - calculates the background of a time-lapse video in which objects move across the background over the course of the video.
- gendiff.py - extracts the objects from the background of the time lapse video.
- ghost.py - automates the process of extracting objects from the background of a time lapse video and layering them on top of eachother so they appear to all be in the scene at the same time whereas they originally were not.
- xtract.py - extracts individual objects and associated metadata from a time-lapse video
What you'll need:
- Python 2.4.4 (or 2.4.x)
- pyMedia
- Python Image Library
- Psyco
- pyGame
- Time-lapse footage (which I'll define as footage taken all from the same camera angle).
Known Issues (read this):
- Frame-Dropping - From what it looks like, this is an issue with pyMedia. For me atleast, it seems to simply ignore maybe 15 percent of all frames in a video. This actually isn't as big a deal as it would seem but if you're OCD about having 100% of your frames used, you probably shouldn't use my scripts (or pymedia).
- Color-loss? - Maybe this has to do with colorspaces (yuv vs rgb), I don't really know, but it looks like the color changes slightly when a video is put through pyMedia.
- Slowness - These scripts are intended for being run occasionally for portions of videos, aka this isn't near production-quality software here - just scripts. They're slow but they work.
Despite these issues, the software works and I have used them extensively in videos with no one the wiser that these problems existed.
Download
video.zip (contains all files)Calculates the background of a time-lapse video in which objects move across the background over the course of the video. Results in a .bmp file.
Example
Takes a video that looks like this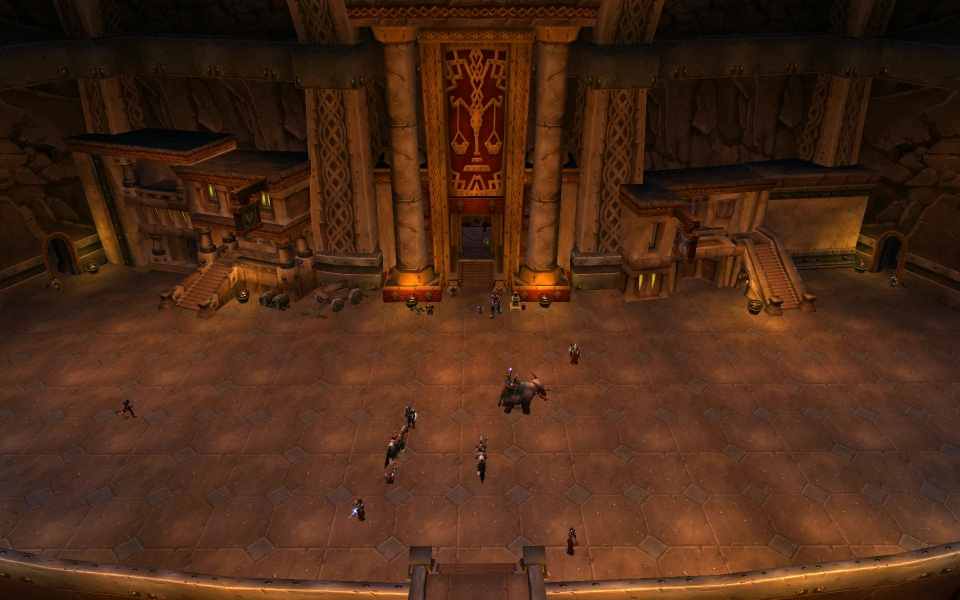
and gives you an image that looks like this.
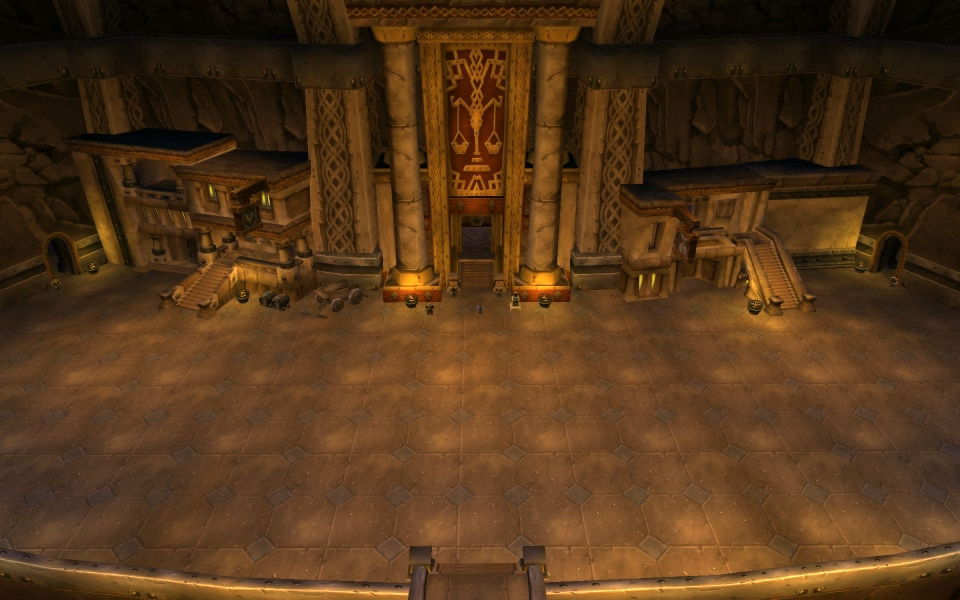
How to use it
Download mode.py and stick it in your python folder (\python24\). Create a directory called 'mode' in your python folder. Then open up a command prompt (Start->Run->'cmd') and navigate to your python folder ('cd \python24\'). Now just call the program with the name of the video you want to process as the sole argument (python mode.py your_video.avi). You will see mode .bmp files appearing in your python directory. Sort through them and pick the one that seems best and rename it, and delete the rest.
Problems?
Make sure that you're giving the program an avi file. Make sure that the full codec is installed on your computer (ie don't use the fraps codec because it doesn't install the full codec on your computer).
Extracts the objects from the background of the time lapse video. Results in a sequence of .png files (which can be imported into adobe premiere, after effects, etc).
Example
Takes a video that looks like thisand gives you an image sequence that looks like this (note: these are partial transparent pngs so you can throw them on top of the mode image in a video editor and it should look pretty much the same as the original footage).
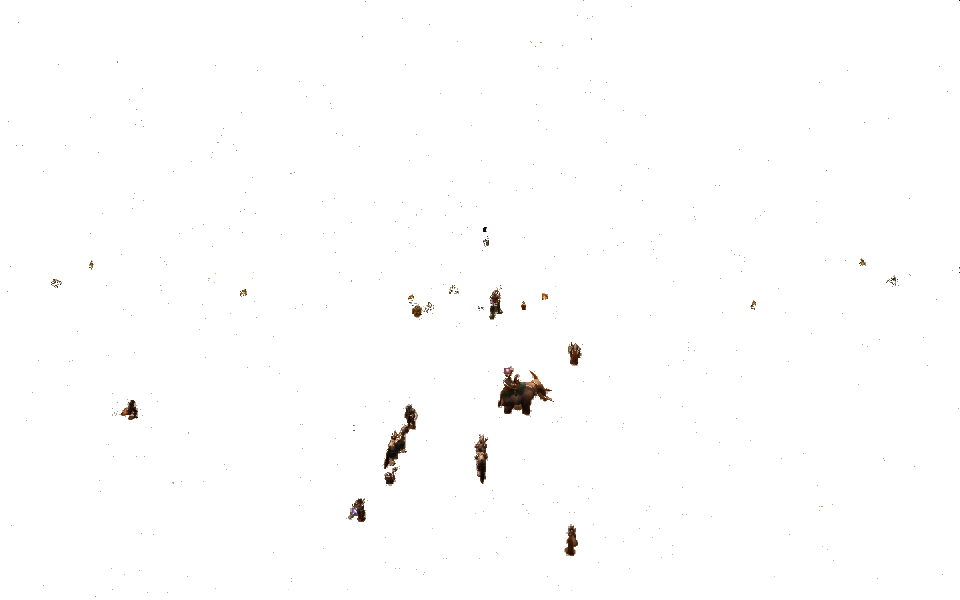
How to use it
First, download and run mode.py on your video and pick out the mode for your video. Create a directory called 'gendiff' in your python directory. Then open a command prompt and navigate to your python directory and run the program. The arguments are 'video_file mode_image' so your command should look like: 'python gendiff.py my_vid.avi my_mode.bmp'
Automates the process of extracting objects from the background of a time lapse video and layering them on top of eachother so they appear to all be in the scene at the same time whereas they originally were not. The functionality of this overlaps with gendiff.py to some extent. I mainly wrote this to deal with very long footage that I didn't want to have a sequence of pngs of the whole video. Results in a sequence of .png files.
Example
Takes a video that looks like thisand gives you an image sequence that looks like this.
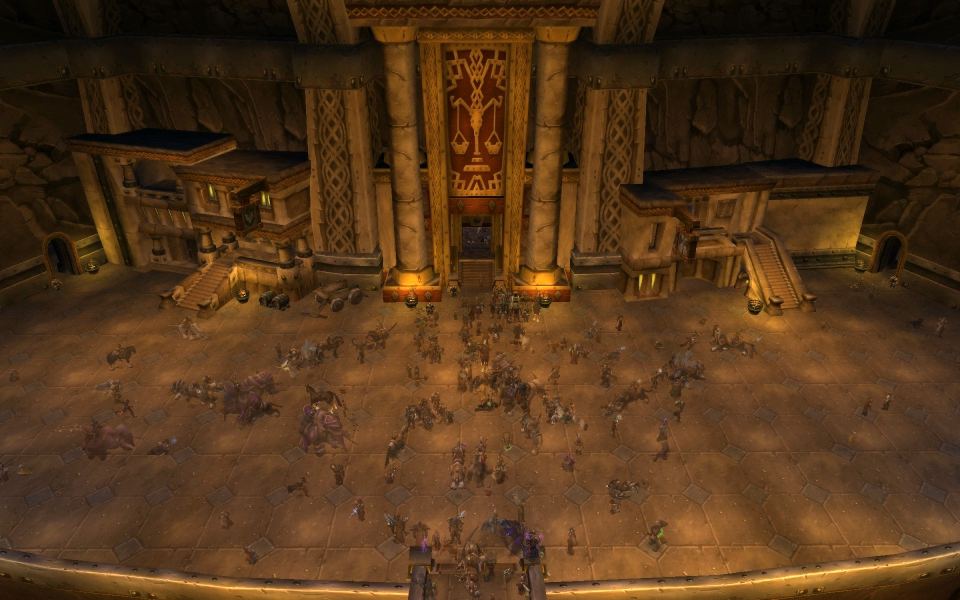
How to use it
First, download and run mode.py on your video and pick out the mode for your video. Create a directory called 'ghost' in your python directory. Open up ghost.py in your favorite text editor and edit the marked variables near the top to suit your needs. Then open a command prompt and navigate to your python directory and run the program. The arguments are 'video_file mode_image' so your command should look like: 'python ghost.py my_vid.avi my_mode.bmp'
Extracts individual objects and associated metadata from a time-lapse video. Results in many sequences of .png files and associated .txt files.
How to use it
You probably shouldn't use this. It just generates small pieces and metadata. I was originally going to make another script to parse the output of this script to automate other effects but when I changed the direction of my video, I wound up dropping the concept. Unless you're willing to do more work, this won't do much of anything for you. And it runs really friggin slow for some reason. I have a good way to optimize it but we'll see when that happens.
First, download and run mode.py on your video and pick out the mode for your video. Pick a place on your hard drive that you will never accidentally open (edit this value in the source) and then run the program. The arguments are 'video_file mode_image' so your command should look like: 'python xtract.py my_vid.py my_mode.bmp'. It will make thousands of directories and files in the place you specified so if you accidentally browse there in windows explorer after running this for a while, it might crash your computer. Use the command line to browse what it generates.